hair

Liese Bubble Hair Dye: Raspberry Brown

OLYMPUS DIGITAL CAMERAOLYMPUS DIGITAL CAMERA


Hello Lovelies!

To my fellow readers that dye your hair you know how annoying roots can be. Unfortunately that is something we need to endure and take care of on a regular basis if we want our hair to look well kept. I haven’t dyed my own hair since these bubble hair dye came out so its been a couple years! I don’t have the time and money right now to go and get a $100+ coloring treatment done to my hair so I’m just going to do it myself while testing out these new (to me) innovation.

OLYMPUS DIGITAL CAMERA

The prep direction is pretty self explanatory but the application process got me a little weary. The tutorial on youtube from the company did not help me at all because when I tried to do it the way they showed it wasn’t applying evenly on my hair ( I have thick long hair). I would see clumps on the interior that did not get covered with hair dye. It might also be because I didn’t apply enough on my hair initially before moving onto the next step.

So my suggestion to you would be … IF you are following the YT tutorial then apply a VERY generous amount on your hair initially before moving onto pulling your hair up. OR A more full proof and safe way to do it would be to section off your hair in layers and work it one layer at a time.

The application process is definitely a lot easier than mixing traditional dye in a bowl compared to brushing it on with a brush.

Before

OLYMPUS DIGITAL CAMERAOLYMPUS DIGITAL CAMERA


After

OLYMPUS DIGITAL CAMERAOLYMPUS DIGITAL CAMERA

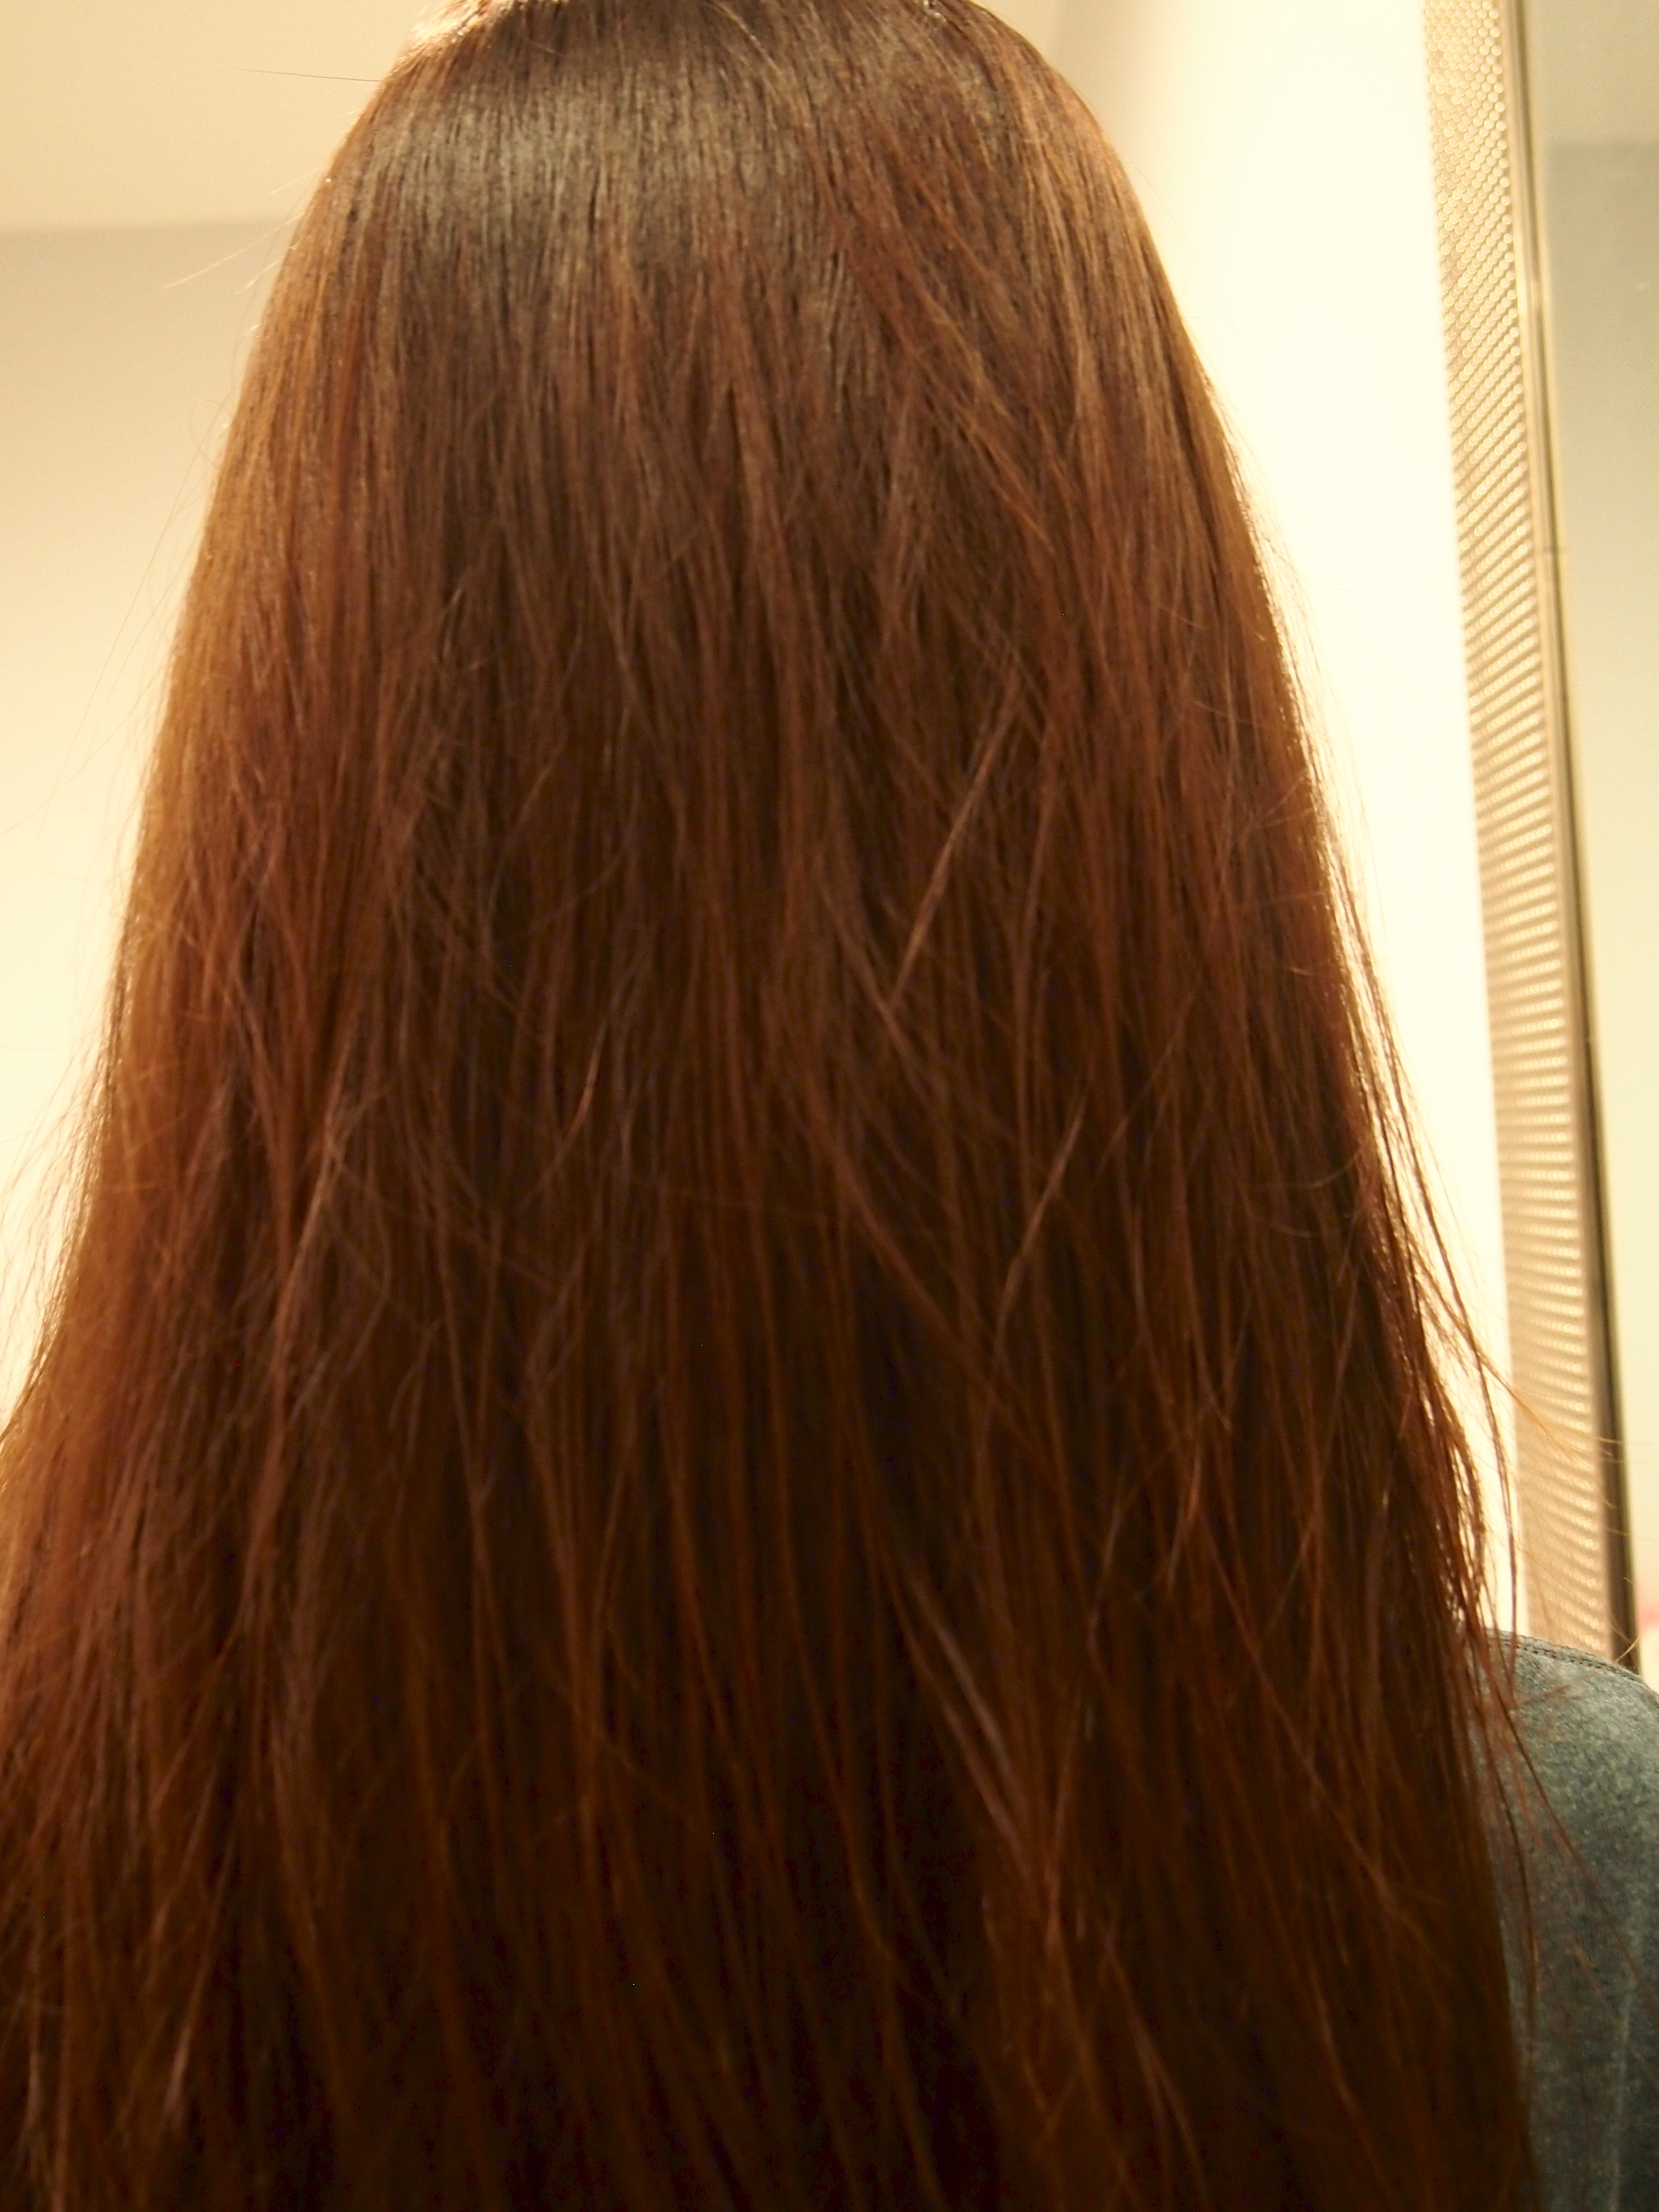
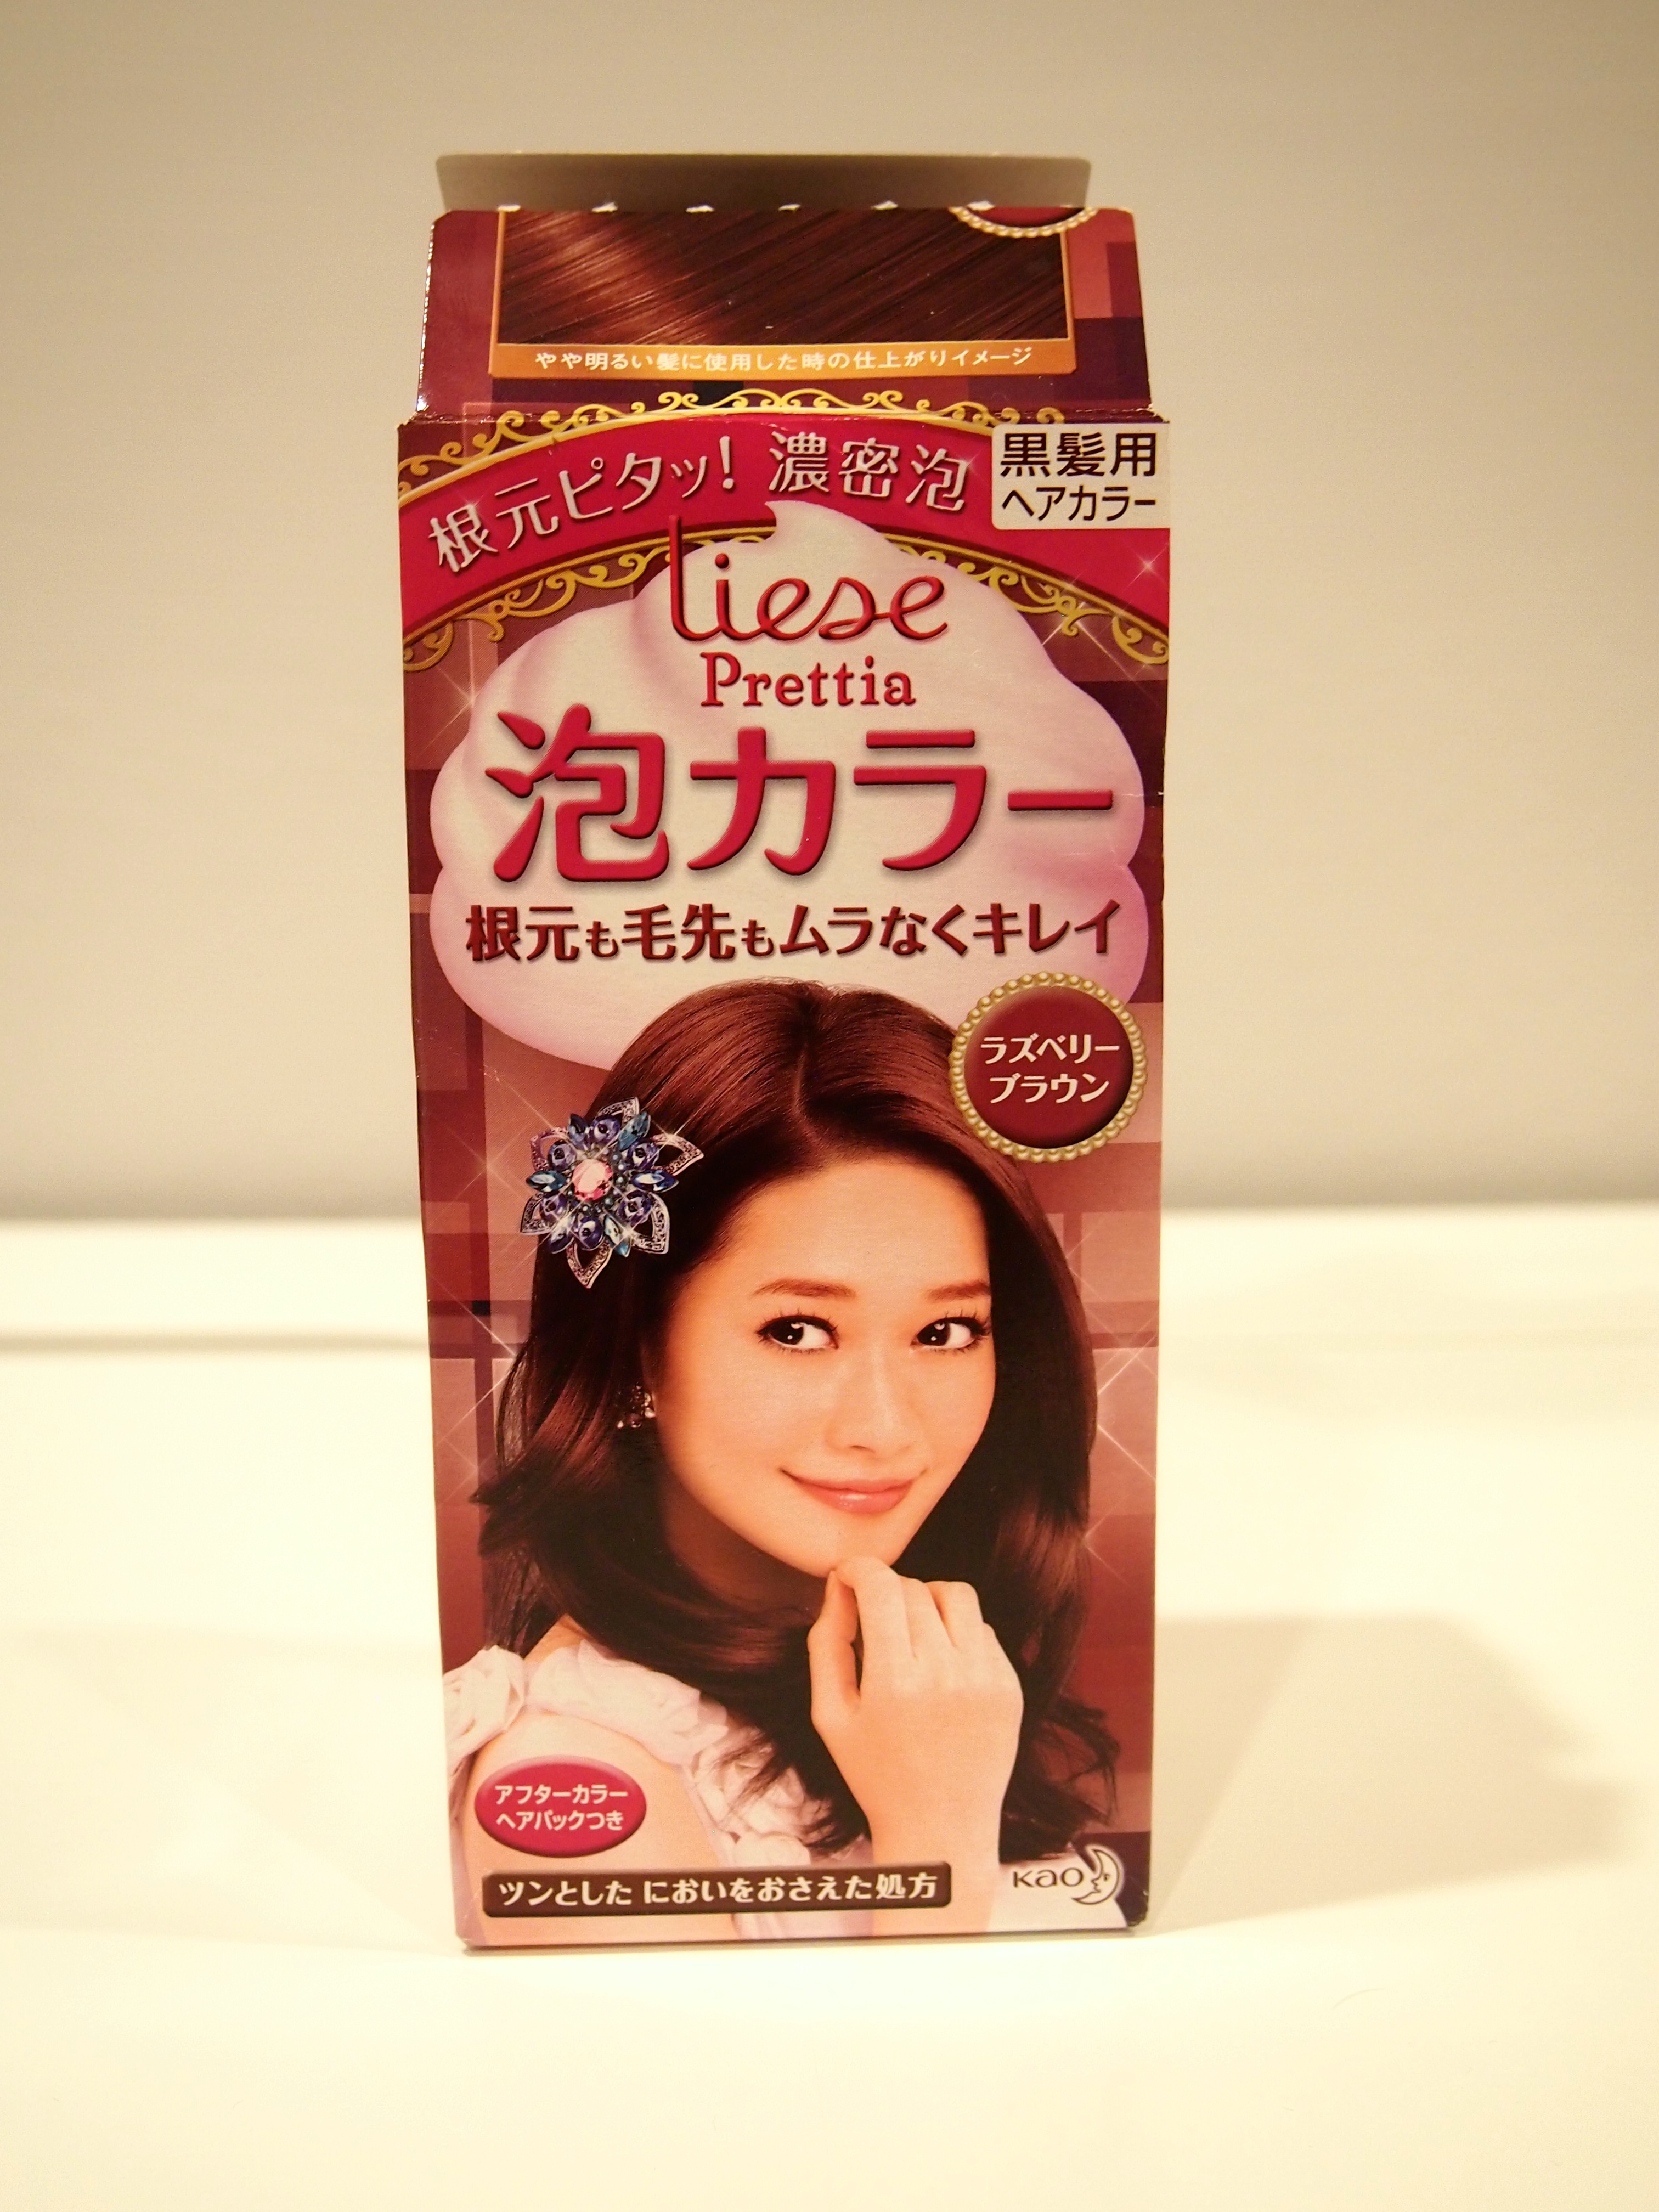
I know the Before and after pics are terrible T.T but here is a more true to color in person picture of how the color looks. If you buy this in stores and there is a hair swatch for you to compare, the color is pretty accurate on the hair swatch. Not so much on the box though because the color on the box looks a lot more red.

IMG_2692


Final verdict, I will be repurchasing this in the future if I want to dye my own hair again!

Until next time,
❤ Jess


Would I Recommend these?… I think NOT

OLYMPUS DIGITAL CAMERA

Helllooo Lovelies!!

So I have shared a lot of my beloved product discoveries but as we all know there are many not so great products that was tried along the way. Instead of snatching a special spot in my collection of products they get their own special blog post.

Maybelline EyeStudio Cream Shadow Palette: Just don’t do it. This is one of the worse cream shadow products I have tried. If you have tried the old NYX Jumbo Eyeshadow pencil and those don’t work for you then I can guarantee you that this will fail you miserably. It creases on me almost instantly.. well.. more like an hour after application. It tends to just slip and slides and never really sets.

Loreal Telescopic Carbon Black Mascara: I have heard so many great things about this mascara but unfortunately it doesn’t work for me at all. The formulation is really wet, it’s a plastic flexible brush, it doesn’t hold a curl at all, and it smudges within a couple hours without it giving me any volume.

Stila One Step Bronze Primer: The product looks like mushed up jello when it’s dispensed from the tube. The bronze coloring doesn’t disperse evenly so it leaves your skin blotchy after applying. The weirdest and grossest part is that after application theres some residue that forms if you continue to rub it. It’s so weird and nasty that makes me almost believe that I got a bad bottle.

Bare Minerals Face and Body Color Genuine Jade: This highlighter gets more and more green each time you use it. Unless you’re the Incredible Hulk I haven’t met anyone that has a green undertone to their skin. I have quite a yellow undertone so I thought that this product would work and the first couple of times did work but as time went on I noticed how green this product actually is.

Laura Geller Blush n Brighten in Honey Dipped: As much as I tried liking this bronzer in the end I just couldn’t force it to work. The color was just too orange for me and a little to shimmery as well.

Big Sexy Hair Spray and Play: I don’t like crunchy stiff hair spray. That is all.

Until Next Time,
❤ Jessica

Battle of THE: Hair Mask / Deep Conditioners

Hello Lovelies!

My hair is dry, color treated, thick, and coarse with loads of split end. For an everyday conditioner I need to use some stronger big boy stuff and recently I have finished some that I would like to share and compare.

Macadamia Deep Repair Masque
PROS: 1. It smells AMAZING.. seriously. I don’t know what scent it is but its really good. 2. Conditions quite well and leaves hair nice and soft but you do have to leave it on for 7min+ or else the results isn’t that great. 3. Its cruelty free, paraben free, and alcohol free.
CONS: 1. The price is a bit steep at about $33 for a 250ml. BUT i just went online a checked, they sell this on the Target website for only $15!!.. I’m not sure if its a glitch or not but thats 50% cheaper than normal. 2. You need to use this when you really have time and when you’re not in a rush. If you don’t leave it in for a over 7min the results are very minimal. I’ve used it a couple times where I didn’t leave it on long enough and it just felt whatever after, so don’t waste your product like I did!
I don’t suggest using it on your scalp since this is a deep repair masque and is only recommended to be used twice a week. I haven’t personally tried it but I would think that it will weigh your hair down and make it oily faster after the initial wash.
I would be repurchasing this product.

L’Oreal Total Repair 5 Damage-Erasing Balm
PROS: 1. It fixes your dull and dehydrated hair by giving it a boost of moisture. Your hair will be softer after you leave it in for about 5min. 2. Fairly in expensive at around $6 for 250ml.
CONS: 1. This is probably filled with chemicals.. it smells like hair dye so its really of putting when you’re trying to find a product to repair your hair when it smells like the stuff thats damaging it. 2. It claims that is “instantly repairs the 5 signs of damage: split ends, weak, rough, dull, dehydrated hair. I would say that it does 3/5. It didn’t repair or prevent my split ends from forming and my hair was still weak after using this.
I would honestly pass on this product because I am sure there are other drug store deep conditioners that are a lot better or even the same without the heavy chemical/alcohol in this.

Opal One Minute Treatment
PROS: 1. Hello?! 1 Minute, thats it! 2. Very inexpensive at about $2 for 225ml. (i bought mine in Hong Kong and it is really that inexpensive and I remember scouting it a couple years ago and on Ebay and amazon that price was still fairly reasonable but I just checked right now and its around $10 a bottle!) 3.If you leave it for 1 minute, it will be a quick pick me up but the longer you leave it the softer and more apparent the results are. If you can leave it on for maybe even 10 minutes, the results are even better than the Macadamia one.. I kid you not!
CONS: I honestly can’t think of any cons.. besides the fact that its sold overseas and not here in the US.
I have gone through bottles and bottles of this.. its my Holy Grail hair conditioner/treatment. I’ve been using it for years and I haven’t found anything to replace it.

So who is the winner of this battle? *Drumroll* …. Opal One Minute Treatment. Taking into consideration the cost, quantity, and performance, Opal wins the battle. If you have any recommendation then please shoot them my way because I am always looking for a good conditioner!

❤ Jessica

** I have just finished all 3 of these products recently so I was unable to shoot my own photos. These were googled images**